Stick Marsh & Headwaters Lake Overview
Stick Marsh & Headwaters Lake form a 3,000‑acre Central Florida water system, prized for trophy largemouth bass. The lakes offer varied habitats—sparse grass in Stick Marsh irrigation canals and lush, diverse cover in Headwaters—making them a hotspot for anglers seeking big bass. Ideal for novice anglers, pros
Central Florida’s 3,000‑acre water system known for trophy largemouth bass and diverse habitats
Stick Marsh and Headwaters Lake together form a 3,000‑acre system that attracts anglers seeking trophy largemouth bass. The lakes offer a mix of shallow flats, deep drop‑offs, and irrigation canals that create a mosaic of cover for bass to thrive. Water clarity is generally good, with temperatures ranging from the mid‑70s in summer to the mid‑50s in winter, creating ideal conditions for feeding. Bass thrive on cover such as brush piles, submerged logs, and weed‑rich flats, making the lake a hotspot for aggressive feeding. Anglers can use crankbaits in canals, jigs near grass edges, and live bait on dropoffs to target the biggest bass. The best times are early morning and late afternoon, when bass are most active and water movement is minimal. Florida’s licensing laws require a valid state license, and catch limits apply to protect the fishery’s long‑term health. The lake’s clear water and abundant cover make it a prime spot for both experienced and novice bass anglers. Local guides and charter services provide expert advice on the best lures, techniques, and timing for each season. With its abundant resources, Stick Marsh and Headwaters Lake remain a top destination for bass fishing enthusiasts across the Treasure Coast. The lake’s ecosystem is supported by surrounding pine flatwoods and cypress swamps, which provide shade and additional cover for bass. During the day, bass often patrol the drop‑offs, while at night they shift to the deeper channels where they can ambush unsuspecting prey. Enjoy the serene setting and the thrill of the catch right now;
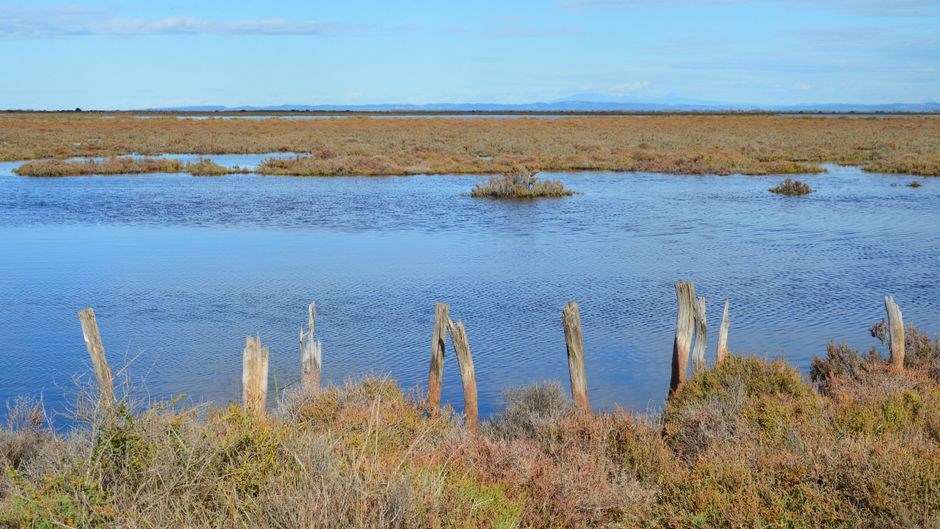
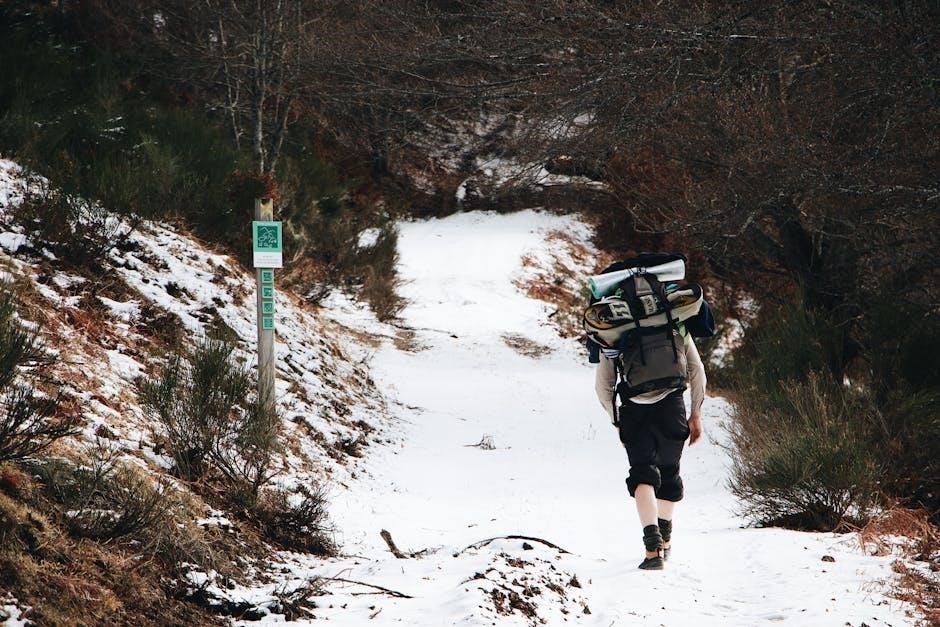
Access & Launch Ramps
Access to Stick Marsh and Headwaters is convenient with several launch points near Fellsmere. A temporary ramp will be open from June 10 to 20, while permanent private docks provide options for boaters. All launch sites require a valid Florida fishing license. County maintenance ensures safe access. anglers.OK
Multiple launch points near Fellsmere, including a temporary ramp open June 10‑20 and private docks
Access to Stick Marsh and Headwaters Lake is straightforward, with launch sites clustered around Fellsmere. The main public ramp, located on County Road 70, will be available from June 10 to June 20, providing a temporary verybut well‑maintained entry for power and personal watercraft. This ramp features a flat, gravel approach, a marked parking zone, and a small dock that can accommodate up to 20 boats. During the ramp’s open window, visitors can bring their own trailers or use the county’s tow‑in service, which operates on a first‑come, first‑served basis. The temporary ramp is designed to handle a high volume of traffic, with clear signage indicating safe entry points and a dedicated safety patrol during peak hours. For those who prefer a more experience, a handful of docks are scattered along the shoreline. These privately owned access points are typically managed by local fishing clubs or individual landowners, and they offer a quieter, more secluded launch environment; Each private dock is equipped with a small platform, a secure tie‑down area, and a modest storage shed for gear. While the public ramp is free to use, private docks often require a nominal fee or membership to access, and they may have specific operating hours to preserve the natural habitat. All launch points are compliant with Florida’s environmental regulations, ensuring that the surrounding wetlands remain protected. Anglers should verify the current status of each ramp or dock before heading out, as maintenance schedules or weather events can occasionally alter access. By combining the convenience of the temporary ramp with the intimacy of private docks, anglers can tailor their launch experience to match their fishing style and desired level of solitude.

Target Species: Largemouth Bass
Largemouth bass dominate Stick Marsh and Headwaters Lake, with trophy specimens reaching 20 lbs. Anglers find the biggest fish near dense cover and cooler water, especially around irrigation canals and grass edges. Focus on drop‑off ambush points for maximum success. Ideal for both beginners and seasoned anglers. now.
Big bass up to 20 lbs, influenced by cover type and water temperature
Big bass up to 20 lbs are a hallmark of Stick Marsh and Headwaters Lake. Anglers consistently report trophy specimens when targeting the right cover and water temperature. In Stick Marsh, sparse grass and irrigation canals create a low‑cover environment that forces bass to congregate around the few remaining structures. The canals’ slow currents and moderate depths provide ideal thermal refuges, especially during hot afternoons. When water temperatures hover between 78 °F and 82 °F, bass become more active, feeding aggressively on the limited forage. In contrast, Headwaters Lake’s abundant grass beds, submerged vegetation, and varied drop‑offs create a high‑cover habitat that supports larger fish. The lake’s deeper pockets retain cooler water, allowing bass to maintain higher metabolic rates and grow larger. During early spring, when temperatures dip to the mid‑70s, bass are more likely to feed near the edges of the grass beds, taking advantage of the cooler water. As summer progresses and temperatures rise, the fish move toward deeper, cooler channels and the edges of the canals, where they can ambush prey. The combination of cover type and temperature not only influences where bass are located but also how they behave. Understanding these subtle shifts is essential for anglers seeking biggest catch. By matching the right bait or lure to the specific cover and temperature conditions, you can increase your chances of hooking a 20‑lb trophy. Pay close attention to water temperature and type of cover present; aligning tactics with natural preferences of the bass, heavily influenced by cover and thermal profile, yields best results today.
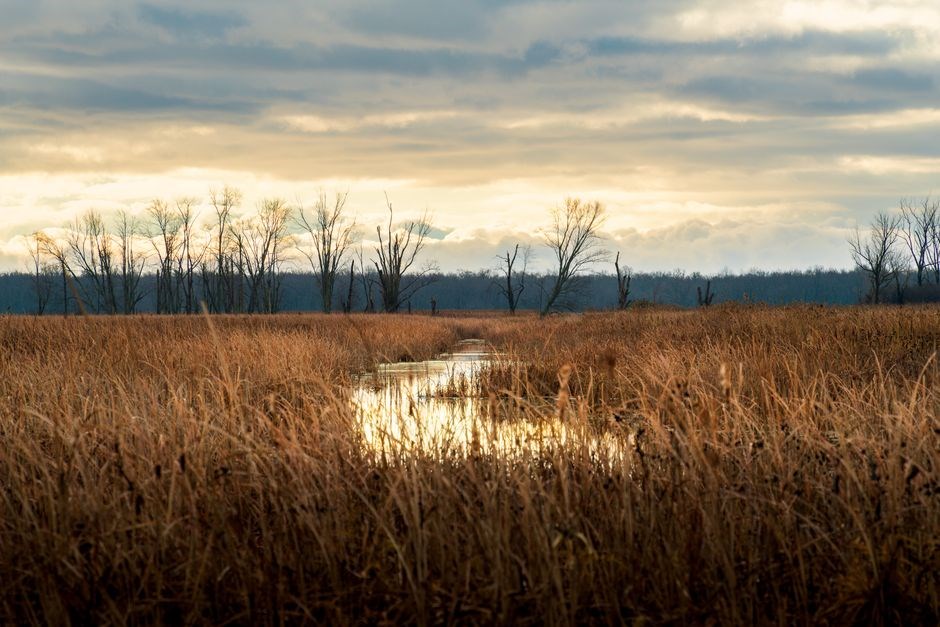
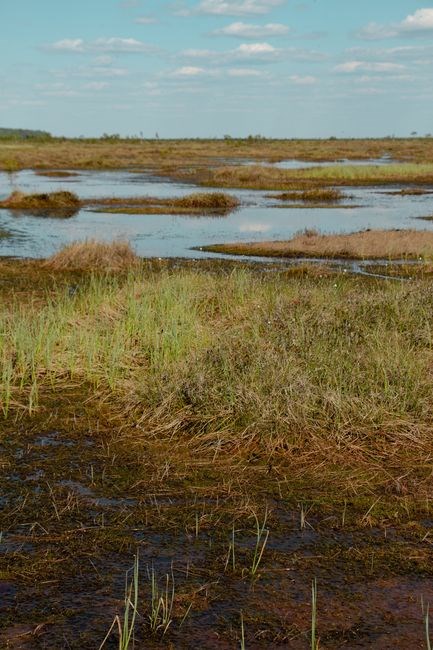
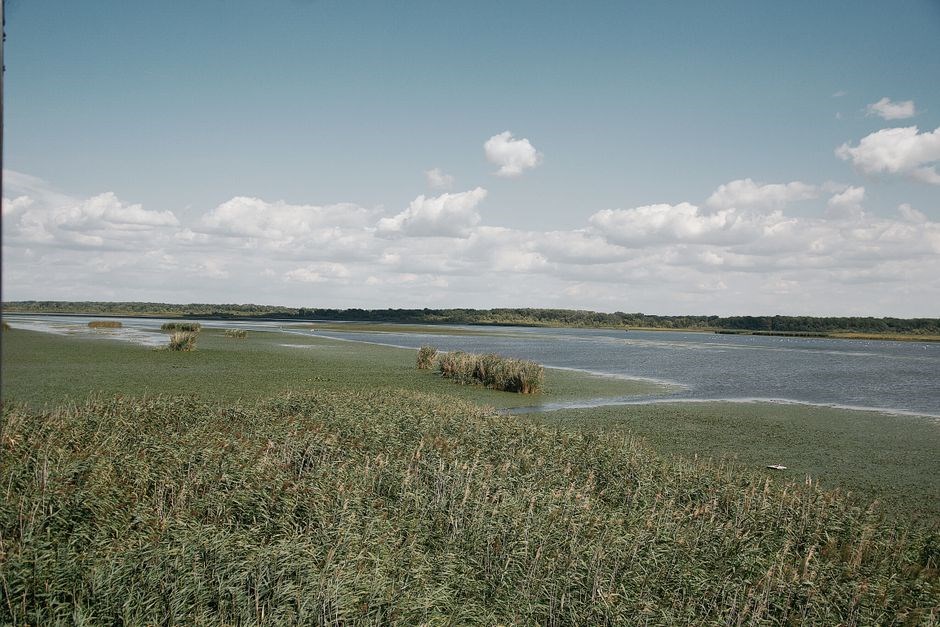
Habitat & Cover Types
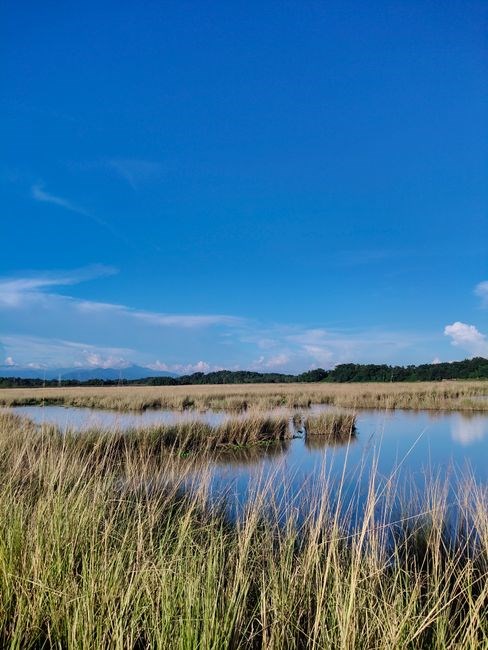
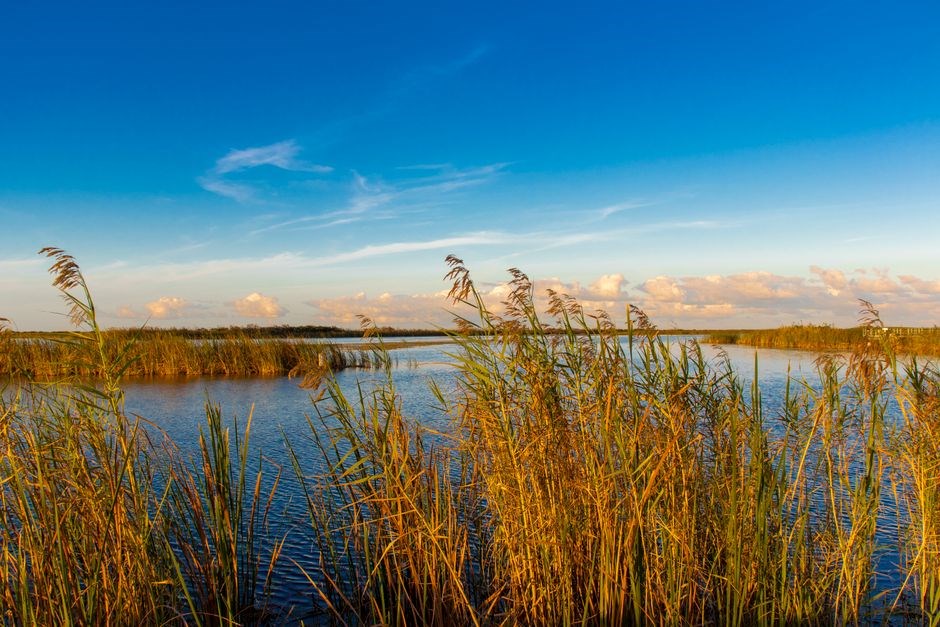
Stick Marsh has sparse grass and irrigation canals, creating a low‑cover setting that funnels bass into the few remaining channels. Headwaters Lake boasts abundant grass beds and varied cover, from submerged vegetation to drop‑offs, offering hiding spots feeding for large bass!!!!
Stick Marsh: sparse grass, relies on irrigation canals; Headwaters: abundant grass and varied cover
Stick Marsh’s landscape is dominated by a network of irrigation canals that cut through a largely treeless plain. The canals, with shallow, slow‑moving water, form the primary structure for bass to exploit. In the absence of extensive emergent vegetation, bass concentrate around the edges of these channels, using the slight drop‑offs and subtle depth changes to ambush prey. Anglers find the best spots at the corners of the canals where the water slows and the current creates a natural “bowl” that holds bait fish.
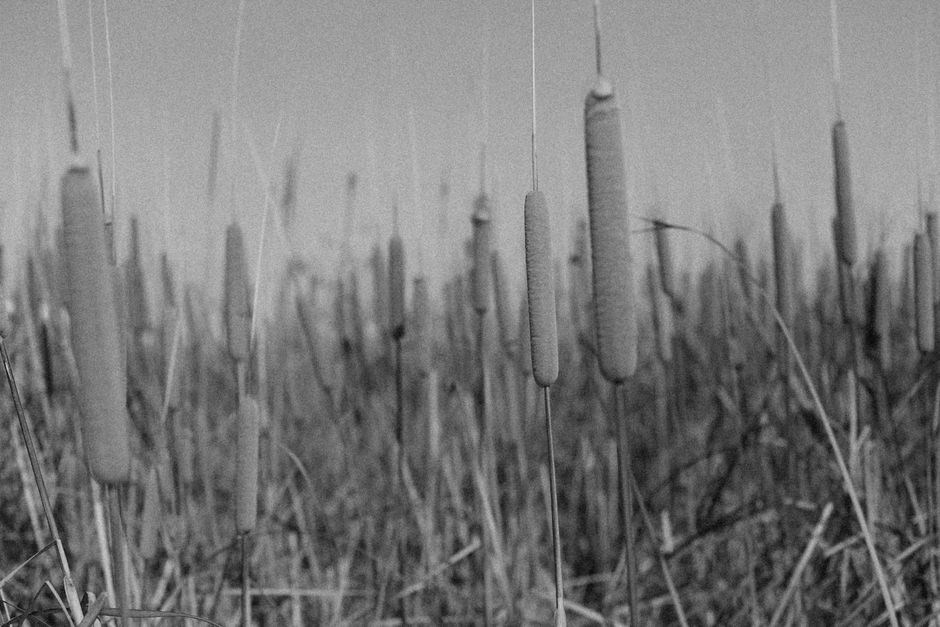
Headwaters Lake presents a diverse mosaic of aquatic vegetation. The shoreline is lined with dense grass beds that extend several feet into the water, interspersed with patches of submerged weeds and occasional emergent cattails. These varied cover types provide multiple layers of hiding spots for bass, from shallow weed beds to deeper, more open water. Anglers often target the transition zones where the grass thins out, as these are prime ambush points for bass looking to strike on unsuspecting prey.
Both lakes offer unique challenges. Stick Marsh’s minimal cover forces bass to rely on the structural cues of the canals, while Headwaters’ lush vegetation creates a complex habitat that supports larger, more elusive fish. Understanding these differences is key to developing a successful fishing strategy for each lake. This knowledge helps anglers choose the right lure size and retrieve speed for each environment. Seasonal shifts also alter cover density, requiring adjustments to tactics throughout the year. And the times are early morning and late afternoon.

Fishing Techniques & Baits
Use crankbaits in canals, jigs near grass edges, live bait at dropoffs. Focus on ambush points. Adjust lure size to water depth, retrieve speed to cover type. Early morning and late afternoon are prime times. Use soft plastic worms in shallow grass, live minnows near dropoffs
Crankbaits in canals, jigs at grass edges, live bait near dropoffs; focus on dropoff ambush points
Crankbaits are the go‑to lure for the narrow, sandy canals of Stick Marsh. A 2‑to‑3‑inch spinner‑head crankbait in a natural color such as “Blue‑Green” or “Pale Yellow” will mimic a small baitfish that moves with the current. Retrieve at a steady 1‑to‑2 ft/s, pausing every 2–3 ft to let the tip “pop” against the canal bottom. Bass in these channels often sit just below the surface, so a short, slow retrieve keeps the lure within striking distance. In Headwaters, where the canals are deeper, try a 4‑inch crankbait with a “black‑blue” finish; the added length allows the lure to travel further before it stalls, giving bass a larger target area.
Jigs work best along the grassy edges that border the canals. A 1‑inch soft‑plastic jig tipped with a ½‑oz. rubber ball or a small live minnow will trigger a reaction from bass that are hiding in the weed beds. Cast the jig to the edge of the grass, then let it sink to the bottom before pulling back in a slow, steady motion. The key is to keep the jig close to the cover; bass will strike when the jig mimics a struggling prey. In Headwaters, where the grass is thicker, use a 1½‑inch jig and a 1‑oz. ball to increase the lure’s visibility.
Live bait is the most reliable method for targeting bass at dropoffs. A live shiner or a small pinfish placed on a ¾‑inch line at the point where the water drops from a shallow weed bed to a deeper pool will create a natural ambush point. Bass will often hold near the dropoff, waiting for the bait to drift into their line of sight. In Stick Marsh, the dropoffs are usually shallow, so a 1‑inch minnow is sufficient. In Headwaters, the dropoffs can be deeper, so a 2‑inch minnow or a small live trout will provide the necessary depth and scent.
The focus on dropoff ambush points is critical. Bass tend to hold near the transition between shallow and deep water, using the dropoff as a natural funnel. By placing crankbaits in the canals, jigs along the grass edges, and live bait at the dropoffs, you cover the most productive areas of both lakes. Timing is also essential; early morning and late afternoon when the water is cooler and the bass are more active will increase your chances of a big catch.
Remember to adjust your tactics based on water temperature and clarity. In warmer water, bass will move to deeper, cooler pools, making the dropoffs even more productive. In cooler water, they may stay in the shallows, so focus more on the canals and grass edges. By combining these techniques, you’ll maximize your chances of hooking trophy largemouth bass in both Stick Marsh and Headwaters.
Seasonal & Regulatory Considerations
Early mornings and late afternoons are prime times for bass. A valid Florida fishing license is mandatory. Adhere to daily catch limits and respect protected species. Seasonal closures may apply; check local regulations before heading out. Remember to observe seasonal closures and stay within the 10‑lb daily limit US
Best fishing early morning/late afternoon; Florida license required, catch limits and protected species rules apply
Optimal windows for bass in Stick Marsh and Headwaters are the low‑light periods just before sunrise and after sunset. During these times water temperatures are cooler, fish are more active, and the reduced light makes it harder for predators to spot anglers. A Florida fishing license is mandatory for anyone 16 or older; the state offers a 30‑day temporary license for visitors. Catch limits are set at 10 bass per day, with a 20‑lb bag limit for larger specimens. The state also protects certain species such as the Florida largemouth bass in specific habitats; anglers must release any fish that appear to be a protected species. Always check the latest regulations on the Florida Fish & Wildlife Conservation Commission website before heading out, as limits can change with water conditions or conservation needs. Proper compliance ensures a sustainable fishery for future generations. Anglers often use jigs, crankbaits, and live minnows, with success rates highest when the fish are feeding near dropoffs. The water temperature range for peak bass activity is 68–75°F; temperatures outside this range reduce feeding. During the spring and fall, the lake may be subject to temporary fishing restrictions to protect spawning runs; always verify with local authorities. If you catch a fish that appears to be a protected species, such as the endangered Florida largemouth bass, you must immediately release it and report to the Florida Fish & Wildlife Conservation Commission. The 30‑day temporary license can be purchased online or at local sporting goods stores; it covers all water bodies in the state. Remember to bring a valid ID, a properly labeled tackle box, and a waterproof phone case for safety.
Resources & Planning Tools
Use FloridaTreasureCoastFishing.com for up‑to‑date lake maps, fishing reports, and charter listings. Yahoo’s local forums share recent bass catches and weather tips. Online GIS tools show depth contours, dropoff zones, and protected areas. Combine these resources for a good plan.
FloridaTreasureCoastFishing.com, Yahoo, local forums, and online maps for up‑to‑date info
FloridaTreasureCoastFishing.com offers real‑time lake maps, fishing reports, and charter schedules for Stick Marsh and Headwaters. The site’s interactive depth charts highlight dropoff zones and cover types, while the live‑stream feature lets anglers see current conditions. Yahoo’s local forums provide anecdotal tips, recent catch photos, and weather updates from fellow fishermen in the Fellsmere area. Community‑generated data on bass size and location helps plan targeted outings. Online mapping services such as Google Maps and ArcGIS display the exact locations of launch ramps, private docks, and irrigation canals, allowing precise navigation. By cross‑referencing these resources, anglers can identify optimal fishing spots, avoid restricted zones, and stay informed about temporary ramp closures or water‑level changes. The combination of official lake data, user‑submitted reports, and mapping tools creates a comprehensive planning toolkit that maximizes success and minimizes surprises on the water. Before heading out, check the latest weather forecast and water‑level updates; a sudden rise can change bass behavior. Wear a life jacket, keep a first‑aid kit handy, and respect the lake’s protected zones. If you’re new, consider a guided tour to learn local nuances. After a day on the water, clean your gear, store bait properly, and report any unusual fish activity to the local fish and wildlife agency. Remember to check the regulations and keep your license at times.